Thursday, March 12, 2015
Ahoy, Matey! Pirate Day

Posted by
LessOrdinaryLibrarian
at
11:04 AM
0
comments
![]()
Labels: art project, book list, character, costume, craft, elementary, fabric, genre, lesson, librarian, library, LMS, school librarian, storytime, teacher librarian
Tuesday, January 20, 2015
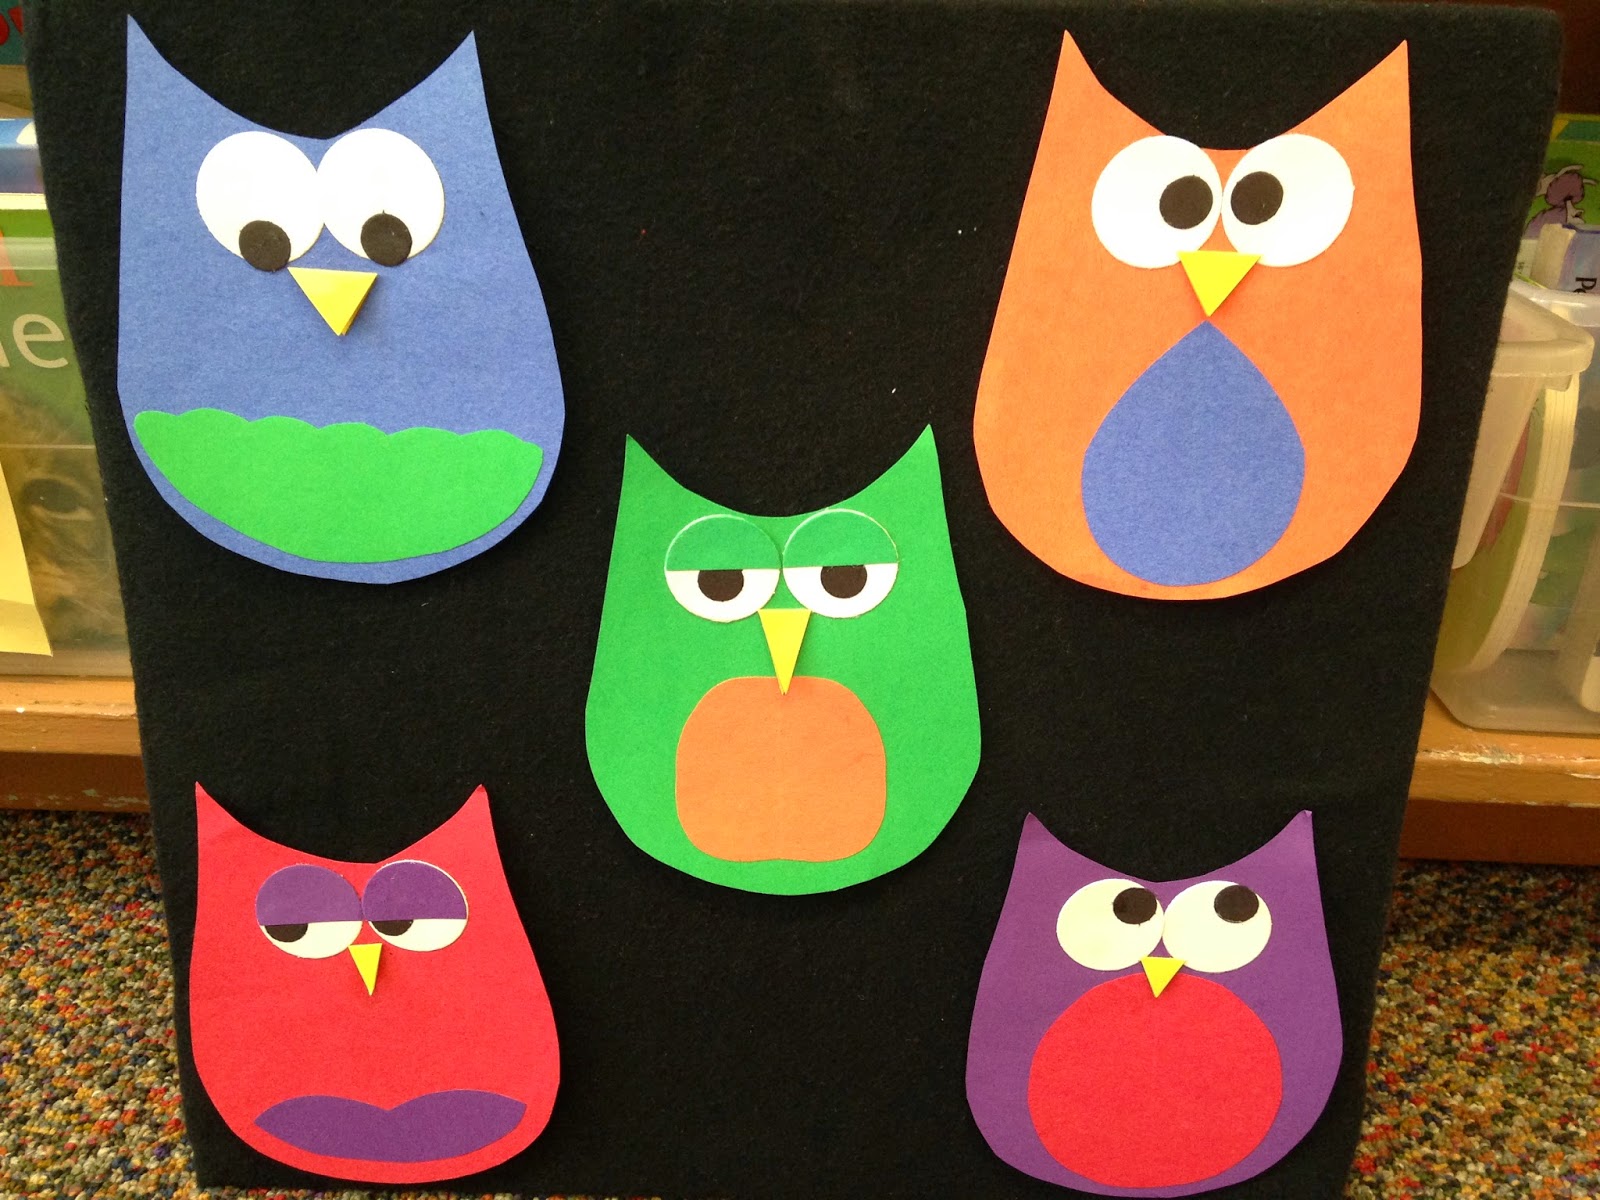
Preschool Storytime: Owls
I. Love. Owl. Storytime. Between the plethora of resources, the adorable owl crafts and the way that even my youngest kiddos enthusiastically say, "Hooooooot," it's easily one of my favorites.

Posted by
LessOrdinaryLibrarian
at
2:51 PM
0
comments
![]()
Labels: animals, art, art project, book list, craft, lesson, librarian, library, LMS, preschool, school librarian, storytime, teacher librarian
Thursday, December 11, 2014
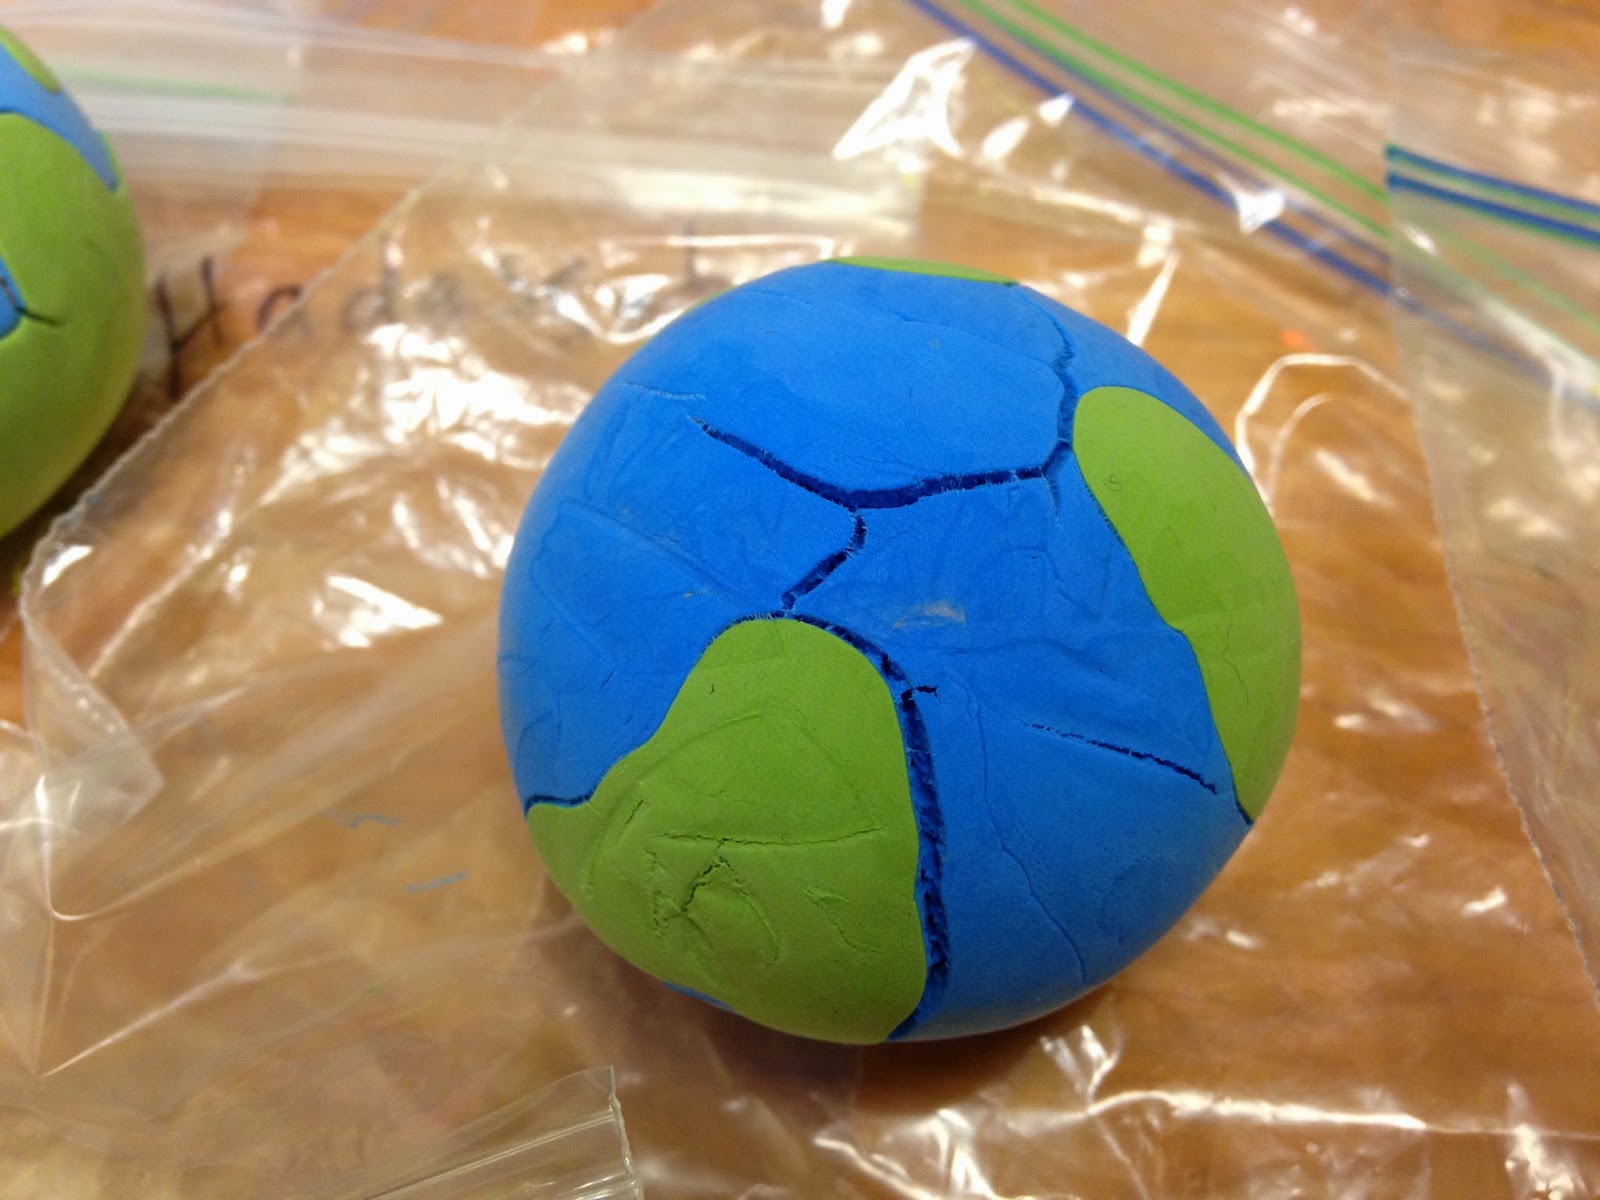
Layers of the Earth Clay Models
Do you remember studying the layers of the earth when you were in
elementary school? Yep, me neither. If I had made a clay model of the
earth that was later cut open to expose the layers, that might be a
different story...
This project came about after talking to the third grade classroom teacher and the art teacher, we all worked together to incorporate our areas of expertise into one cool experience for our kiddos. The students have been learning about the earth for a few weeks now so the kids have a great deal of background knowledge.
Before this project even began, I bought (lots) of Crayola Model Magic, this stuff is great to work with, dries over time and comes in lots of fun colors. I bought six colors, one for each of the layers of the earth the students were asked to represent:

I then divided the clay into individual bags, one for each student. I also included handouts for all of the tables and made my sample earth model:

Posted by
LessOrdinaryLibrarian
at
11:51 AM
0
comments
![]()
Labels: art project, collaboration, craft, display, elementary, lesson, librarian, library, school librarian, science, STEM, student work, teacher librarian, tutorial
Monday, November 24, 2014
Preschool Storytime: Thanksgiving
This week's storytime post comes as both a sharing to fellow librarians and an instructional tutorial to families. Never have I sent a craft home as an extension activity, but this week the craft was too cute and the amount of time was too short.
The Almost Unschooling Mom posted a fun brown paper bag puppet to accompany I Know an Old Lady Who Swallowed a Pie and I was hooked. Like the Almost Unschooling Mom, I used Marcia's Lesson Links for the body, Utah Education Network's Old Lady Puppet for the head (I like that the mouth is bigger and the kiddos can fit the cards in easily), and Make Learning Fun for the pieces of food.
We finished our storytime with I Know an Old Lady Who Swallowed a Pie and as I was reading, the kiddos brought up the different pieces of food and dropped them in the old lady's mouth. Too much fun. They loved being part of the story.
To make your own Old Lady puppet at home, follow these steps:
Step Two: Cut the Old Lady (including inside her mouth, big people help will be required here) and the pieces of food. I cut the rectangle outline of the food so they were all the same size and shape.
Step Three: Lay the paper bag on the table with the seam of the bottom of the bag, face up. Glue the Old Lady's face to the bottom of the bag. I suggest using a glue stick for this part, anything else will soften your brown paper bag.
Step Four: Glue the Old Lady's body to the bag, make sure your hand can still fit inside the bag and the seams all move.
Step Five: Here comes the tricky part... Use a scissors to cut out the mouth of the Old Lady, I used tape to reinforce her mouth to the bag.
Step Six: This step is option, you can tape the plastic sandwich bag inside of the brown paper bag to catch the pieces of food.
Step Seven: Retell the story and enjoy!

Posted by
LessOrdinaryLibrarian
at
1:10 PM
0
comments
![]()
Labels: art project, book list, craft, holiday, lesson, librarian, library, preschool, school librarian, storytime, teacher librarian, tutorial
Monday, October 27, 2014
Character and Setting Dioramas
When I found out the second grade kiddos were studying character and setting, I knew it was the perfect opportunity for another collaborative project. I contacted our amazing art teacher and she showed me a 3-D diorama that her daughter created for a book and we knew it was perfect for this project. I created my example using a different book so the students could be free to create without a per-conceived piece of art in their mind:
I wish I could figure out the official name of this process, I know there are other educators out there doing this and I would love to give them credit. If you have seen this process done before, or if you're doing it yourself, please contact me in the comments section.
The students received three pieces of thick card stock, each piece is slightly smaller than the one behind it. For example, the back piece of paper is 8.5" x 11", the middle sheet is 8.5" x 10" and the front sheet is 8.5" x 9." This makes it so the final product curves inward and makes the diorama stand up on its own.
- The back page (the largest piece) is to show the setting. Where did Ivan live? What did his cage look like? What was on the walls?
- The middle page (the medium-sized piece) is to show the character(s). What did Ivan look like? How large was Ivan compared to his cage? Were there other important characters in the story?
- The front page (the smallest piece, already cut into a frame) is to tell others what book you're sharing. What is the title of the book? Who is the author? Who created this diorama?

Posted by
LessOrdinaryLibrarian
at
2:40 PM
0
comments
![]()
Labels: animals, art, art project, author study, bulletin board, character, collaboration, craft, display, elementary, lesson, librarian, library, LMS, school librarian, student work, tutorial
Thursday, August 14, 2014
Updated! Shark Week Storytime
A few weeks back I planned to do an ocean-themed storytime to go with my Reader's Reef genre bulletin board. What started as ocean-themed quickly turned into something attuned to Shark Week in the library. There are just too many adorable shark projects and ideas on Pinterest. I couldn't help myself!
Update: Thanks to Shark Week on Discovery Channel, there are a gazillion shark-themed ideas on Pinterest. These are just a few I tried (and loved!):
Shark Fin Hats, aren't they fun! Pinned by Raquel Hernandez, I was unable to locate the original source. I simply cut strips of blue construction paper, stapled them together and added a fin (with some CHOMP marks). So easy and so fun!
The idea for this darling clothespin shark comes from Estefi Machado. The blog is in Portuguese and while I was able to translate the post through Google, it was still a challenge to understand. So, I took my best guess.
I did a sketch on white card stock, outlined it with black marker and added some color.
The fishy is attached with a small section of wooden toothpick, glued to the back of the clothespin.
Cute and fun!
Another fast and fun shark craft? The shark clothespin for developing fine motor skills, from Make, Do and Friend. Just paint, glue and play!
I painted my sharky with blue acrylic paint, added a construction paper fin, and squiggly eyes.
The white paint was tough... I had to clamp the clothespin open in order for it to dry and even then, the teeth stuck together. Still cute.

Posted by
LessOrdinaryLibrarian
at
2:43 PM
0
comments
![]()
Labels: animals, art, art project, book list, bulletin board, costume, craft, felt, flannel, Flannel Friday, lesson, library, preschool, storytime, tutorial


